Display options
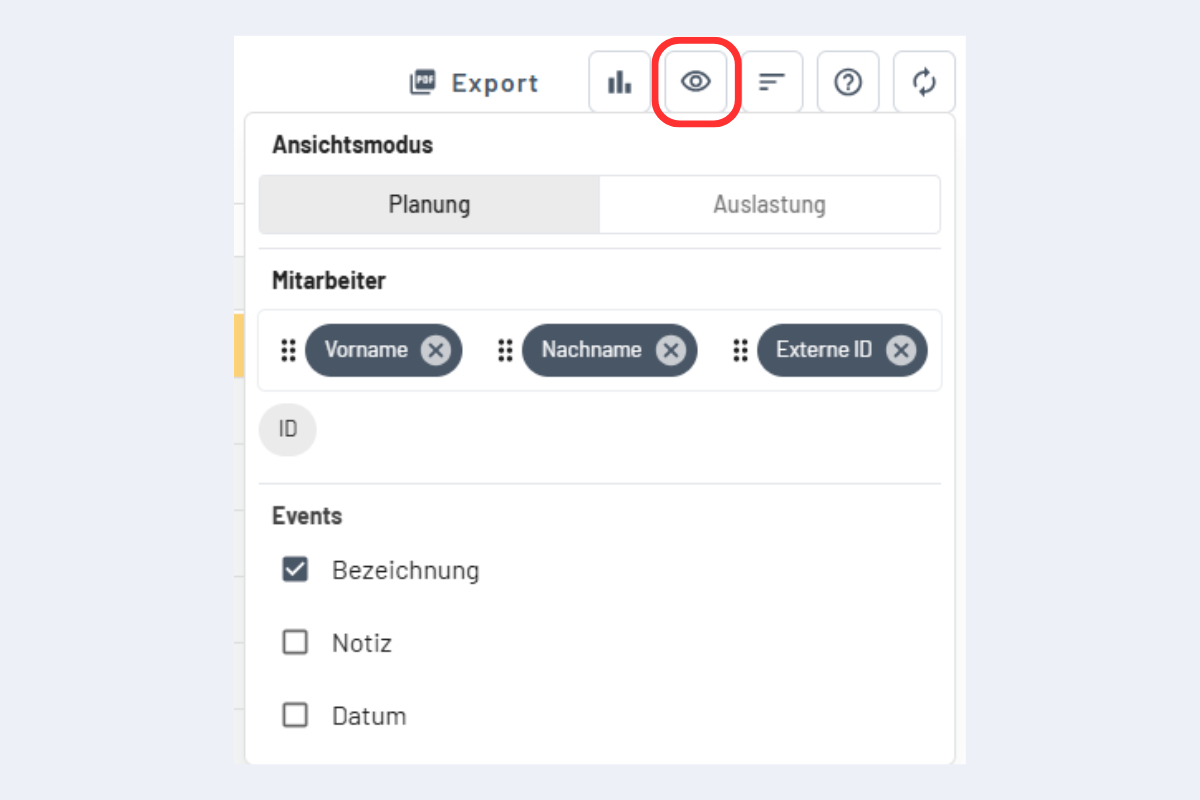
The eye icon at the top right opens the display options: the information and its order in the first column, as well as the level of detail on the booking bars.
info
The eye icon is available in the Employees view, the Projects view, the Service view, the Absences view and the Equipment view. The exact display options may vary slightly by view.
First column
The first column lets you define which information is shown and in which order.
- Change the order: Click the dots to the left of an item, hold, and drag it to the desired position. For example, to show the first name before the last name, click the dots to the left of the First name field and drag it to the top.
- Add a field: Below the activated fields, greyed-out fields are shown that are not currently in the first column (in the example image, the ID field). Clicking a field activates it and it appears in the first column.
- Remove a field: Click the cross next to the corresponding field to remove it from the first column.
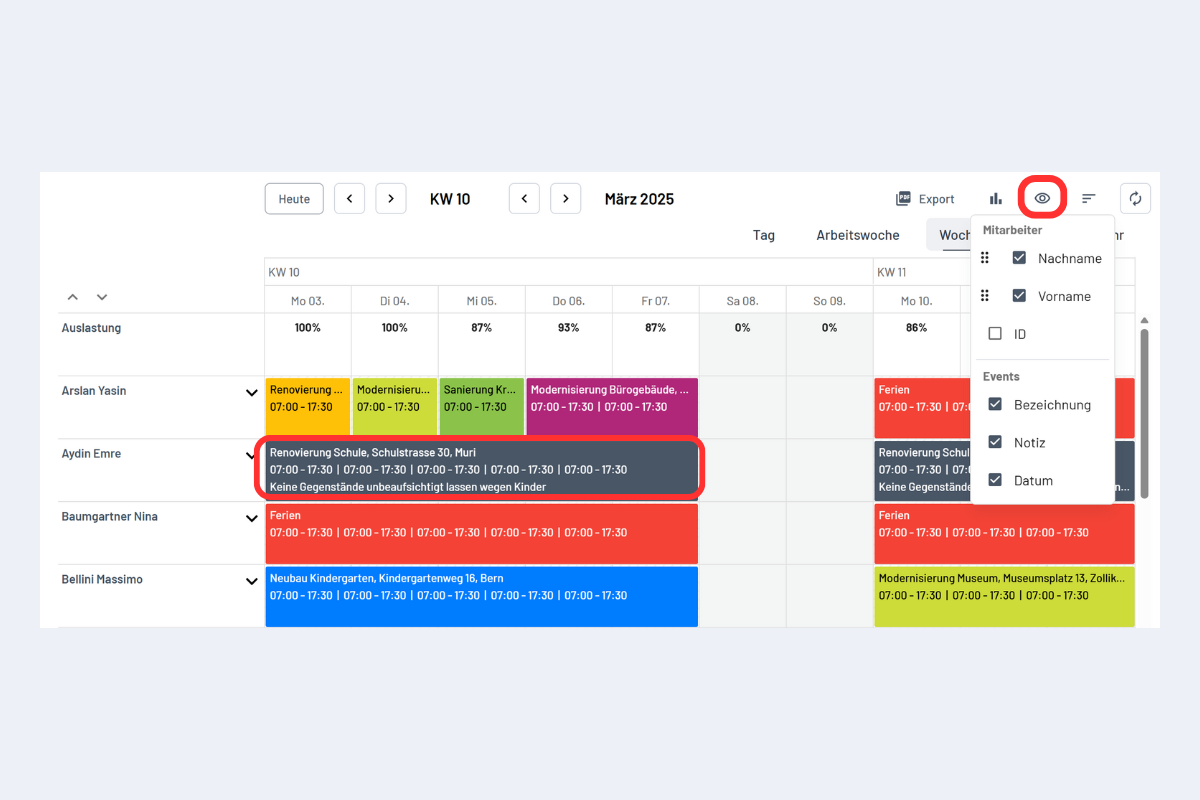
Level of detail on the booking
The level of detail on the booking bars can be adjusted. Available options: name, notes and schedule (date).
Width of the first column
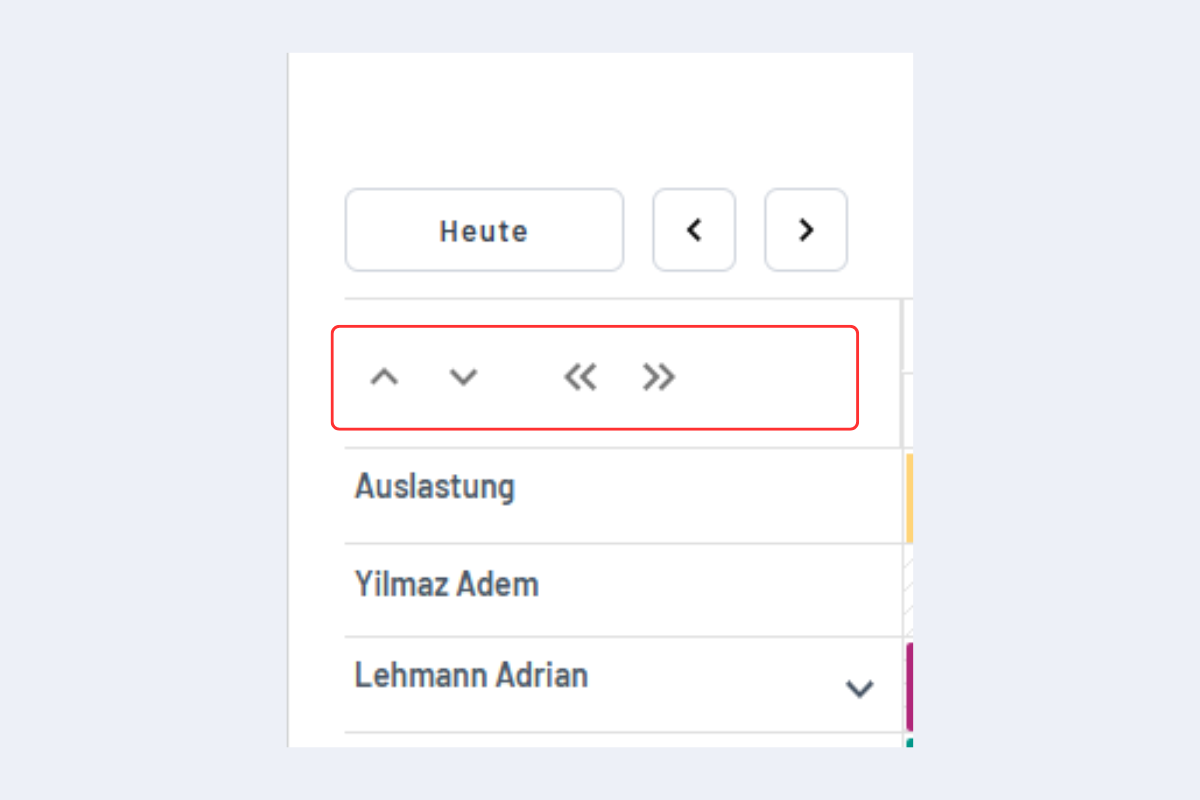
The width of the first column can be adjusted directly in the overview, useful for long names or large tables. The setting takes effect immediately.
tip
Display options are saved per user and persist after a reload.