Create bookings
You need write access to create bookings. By default most users only have read access and can view their entries.
If you have write access, there are two ways to create a booking:
- Via the dashboard (bottom right, plus icon)
- Via the calendar
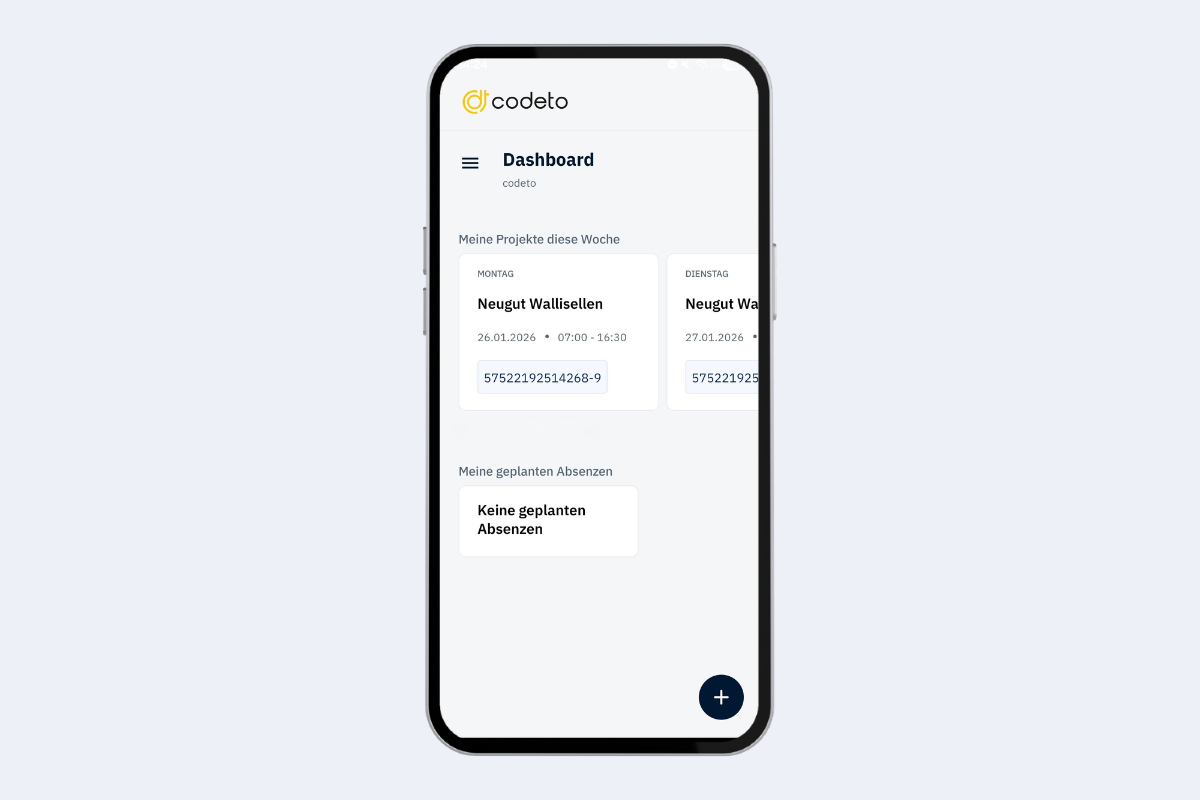
Option 1: Dashboard (plus icon)
Tap the plus icon at the bottom right of the dashboard to create a new booking:
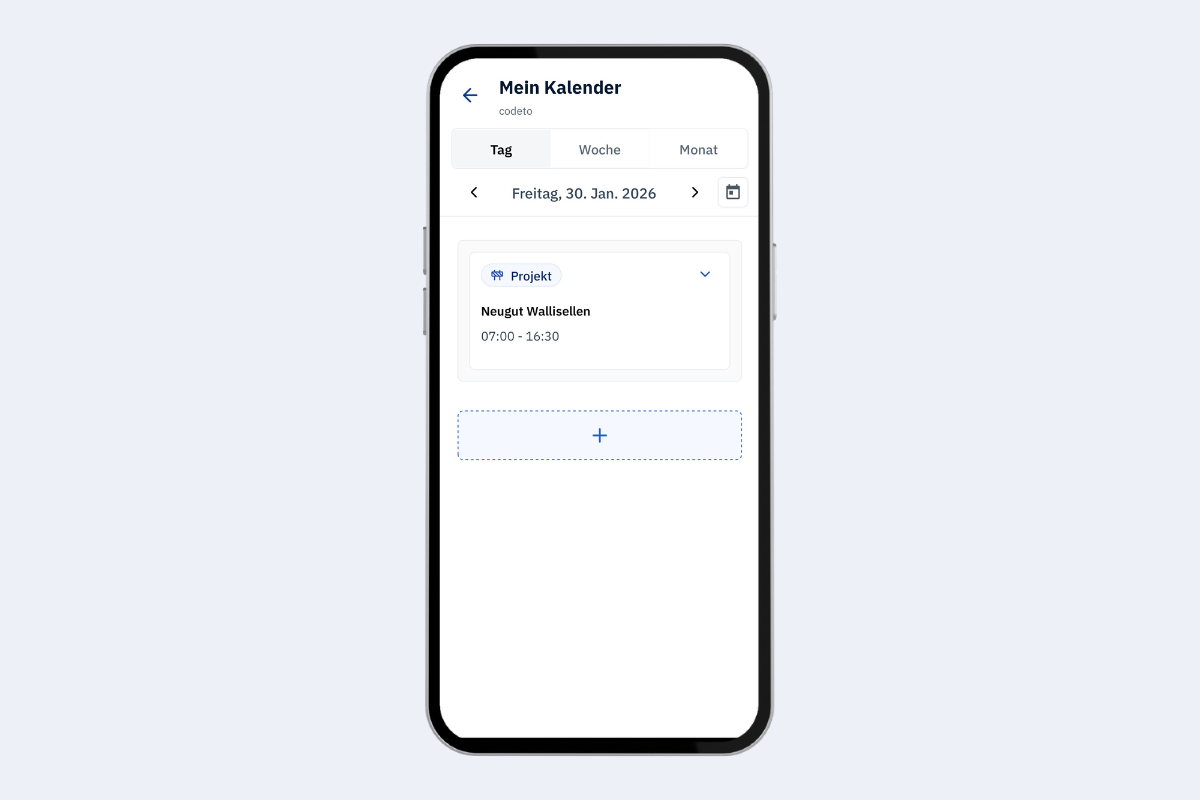
Option 2: Calendar (plus icon in the day view)
In the day view you can also use the plus icon to create a new booking:
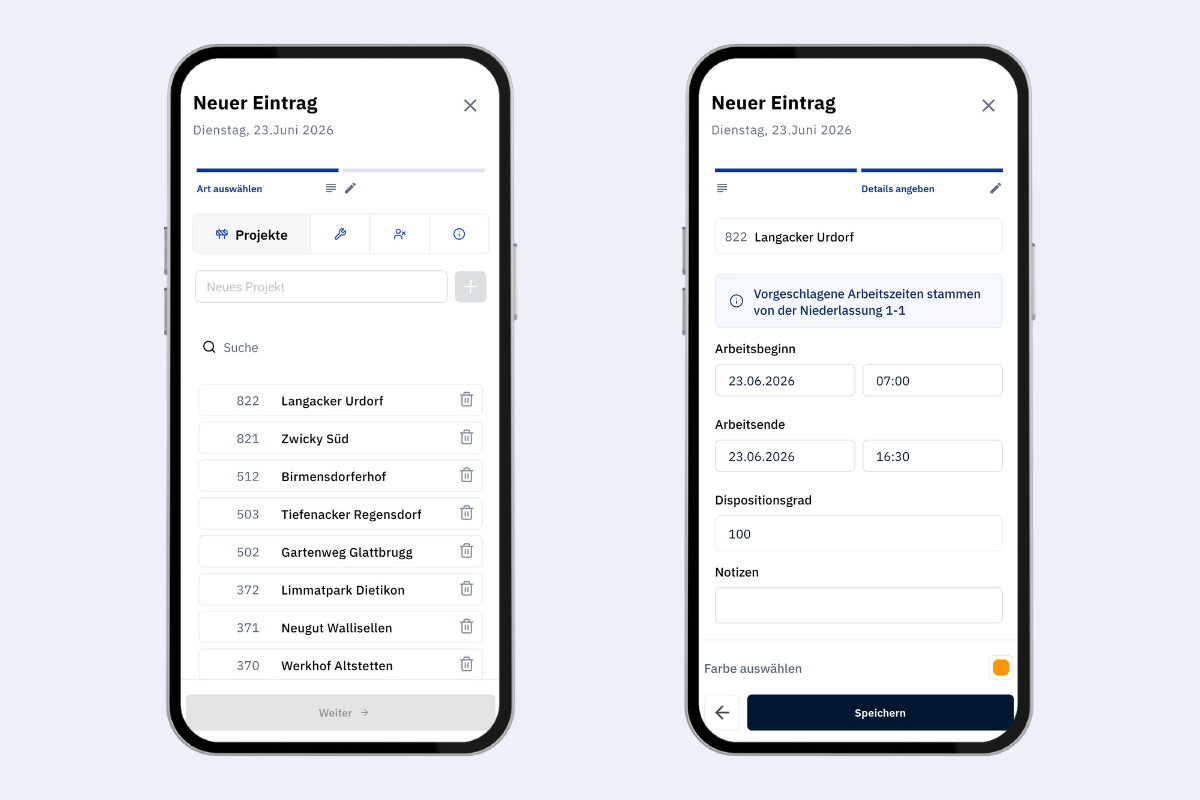
Creation flow
Whether you start from the dashboard or the calendar, the flow is the same.
-
Choose what you want to create: Project, Service, Absence, or Info.
-
Select the relevant item (e.g., project or service order).
- For Project, Service, and Info you can also create the item directly in the app: type the name and tap the +.
- Use the delete icon to the right of an entry to remove a Project, Service, or Info directly from the app.
Caution when deletingAn item deleted here is removed from the entire application for all users, not just for you.
-
Enter the details:
- Start and end time
- Utilization (dispositionsgrad)
- Optional notes
- Color